Published on Tuesday, April 7 2020
by Ariane Clément in Blog
We invite you to learn how to make maracas using balloons and the Paper Mache technique!
It will be an artistic and tactile experience which works on fine motor skills and which you will need if you plan to participate in the LIVE musical activity with M.Coco next Monday (April 13). This activity is divided into several parts to allow drying times. The first is rather structural and the second decorative.
Then make way for music!
Prepare the activity!
Here is what you will need to create your maracas:
Cover your work area with newspapers or an old tablecloth to protect the surface.
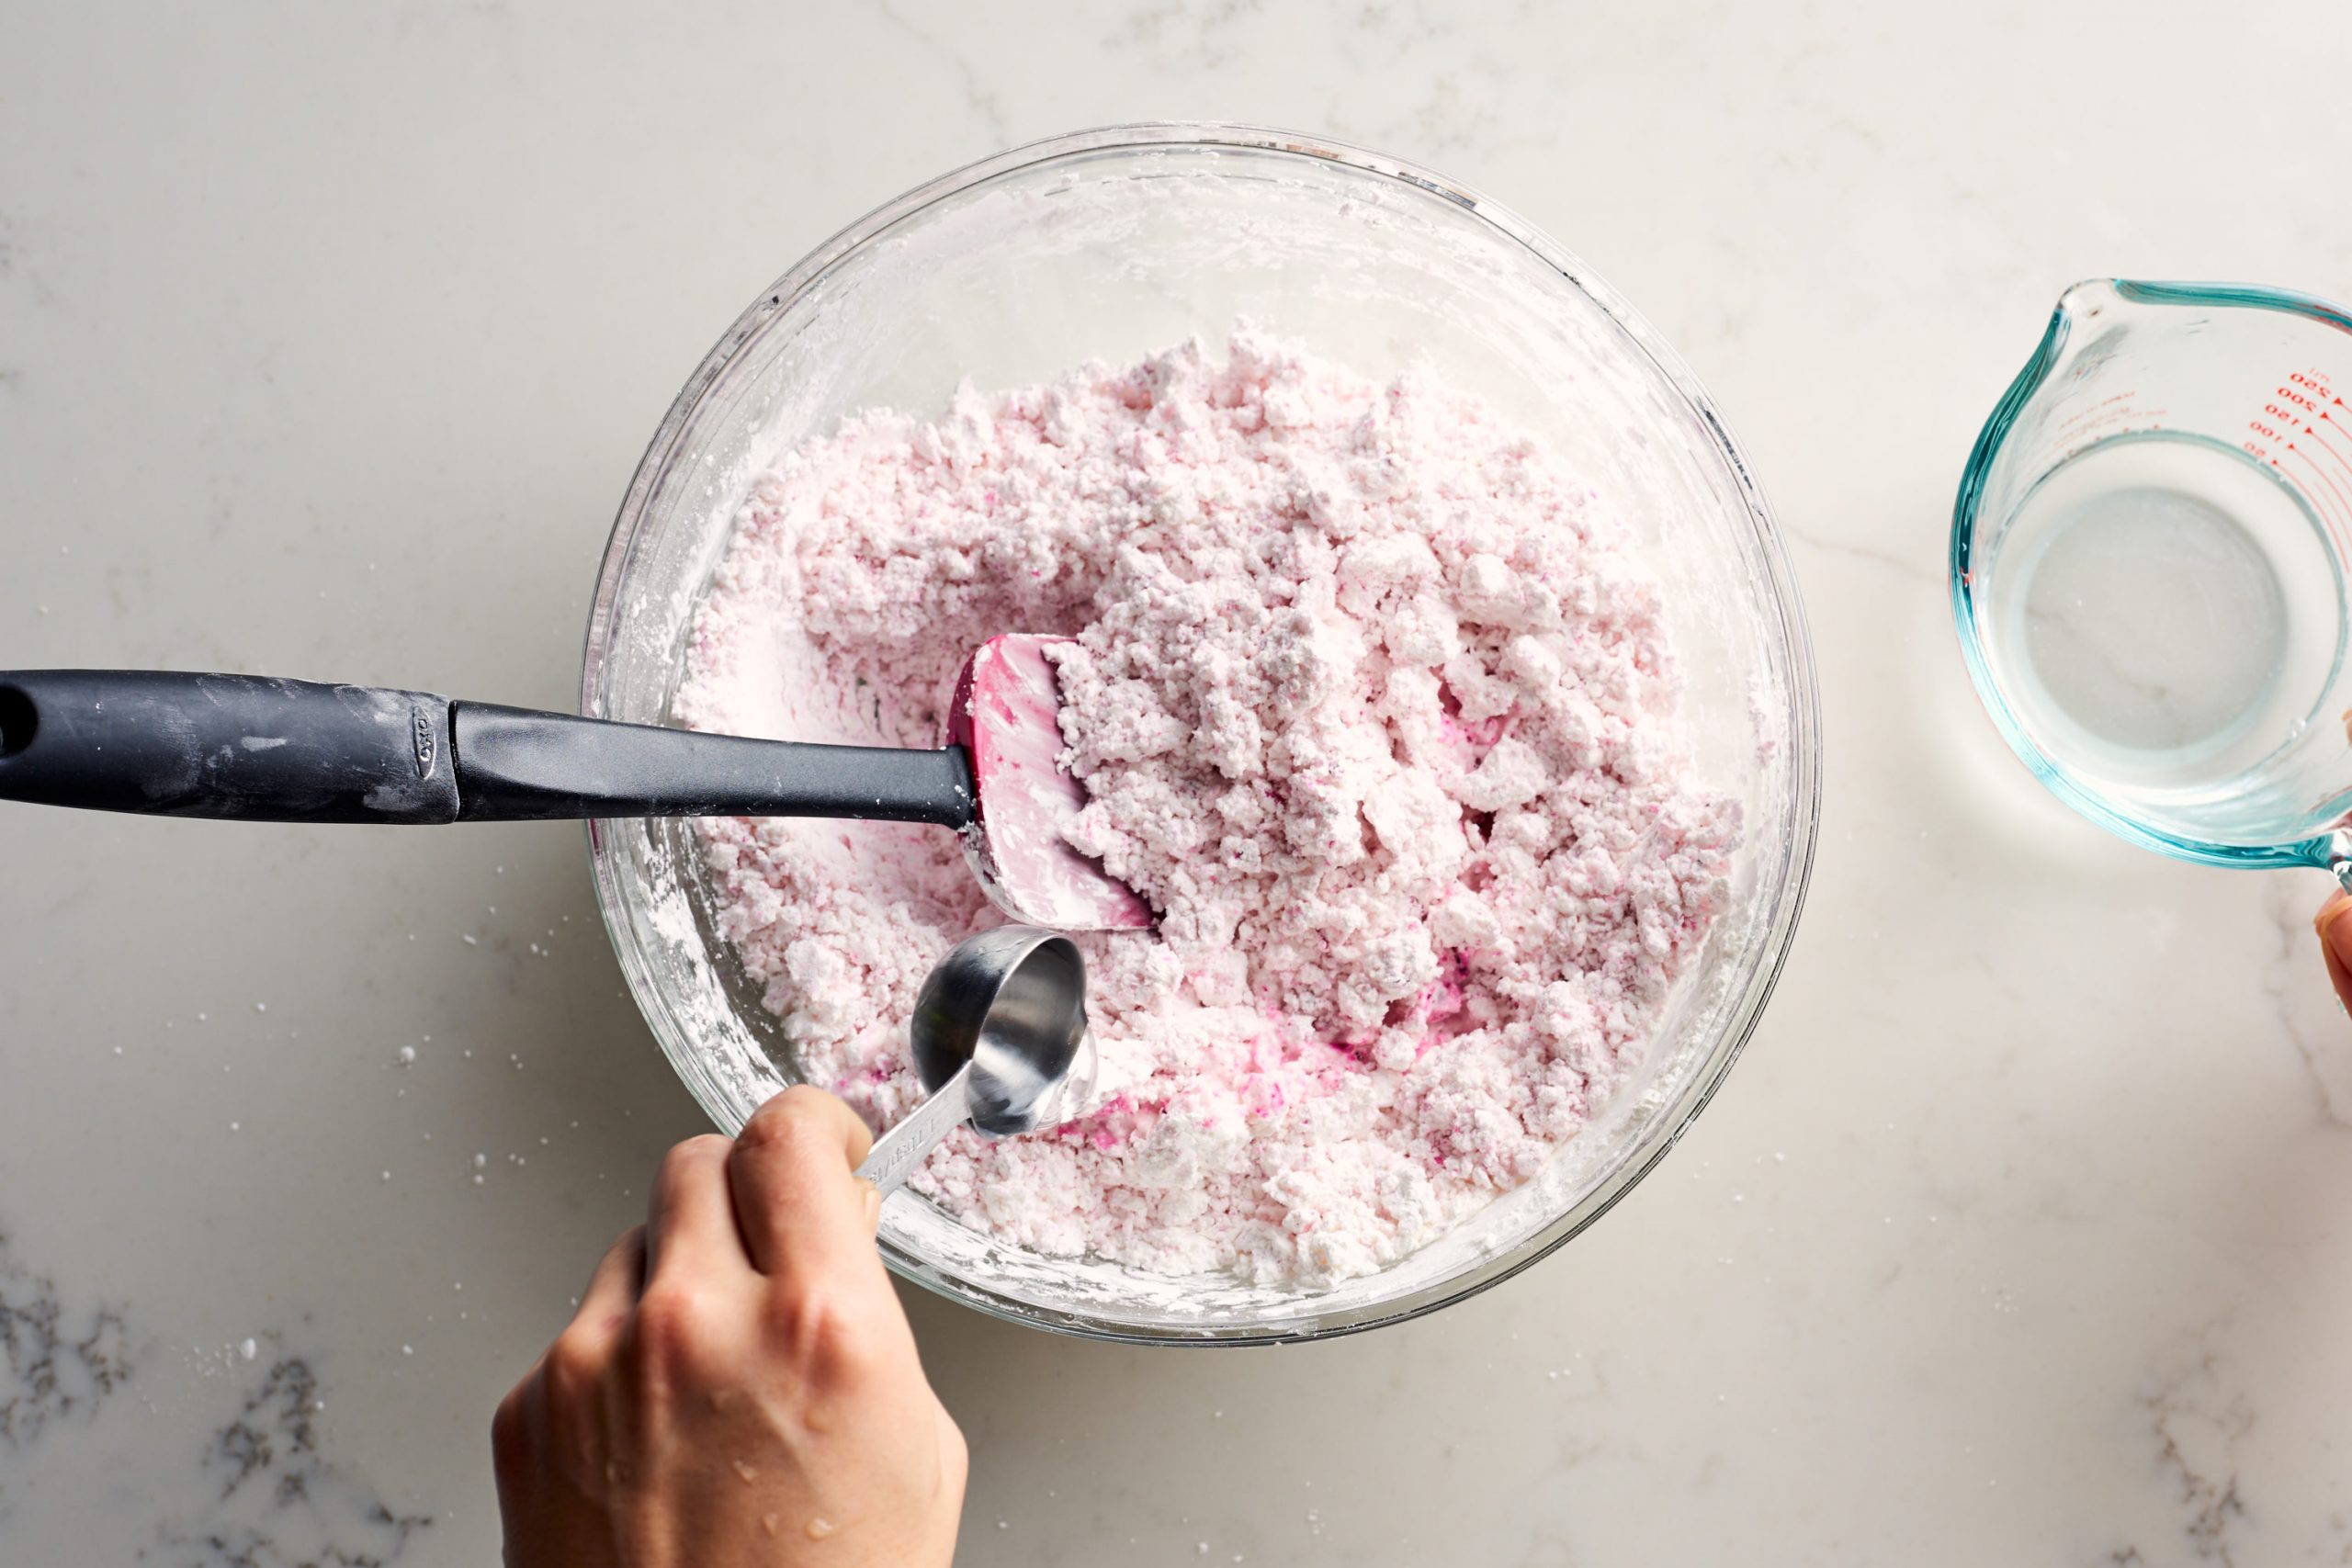
Put out a large bowl full of flour and add small amounts of water little by little. Stir until the consistency looks like oatmeal. The whole family can participate in this step and stir the mixture with their hands at the same time, it is sure to make everyone laugh!
Inflate at least 2 balloons until they are about the size of a grapefruit. Tear several squares (1’x1’) of newspaper. You will need at least forty squares for the next step.
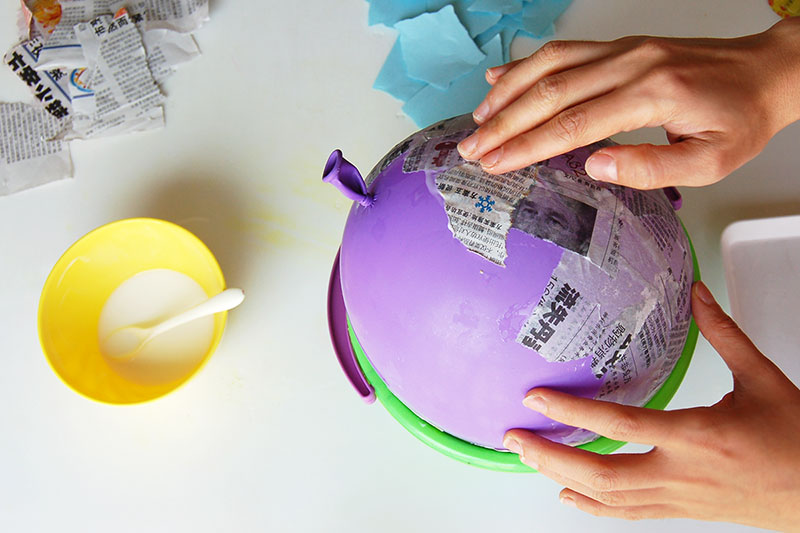
Cover the balloons properly with your gooey mixture. This mixture acts like glue. Cover them completely by spreading it out as evenly as possible.
Place the balloons on the table and rinse your hands, then dry them well. Cover the balloons with two or three good square layers of newspaper while the glue is still moist. Dry overnight.
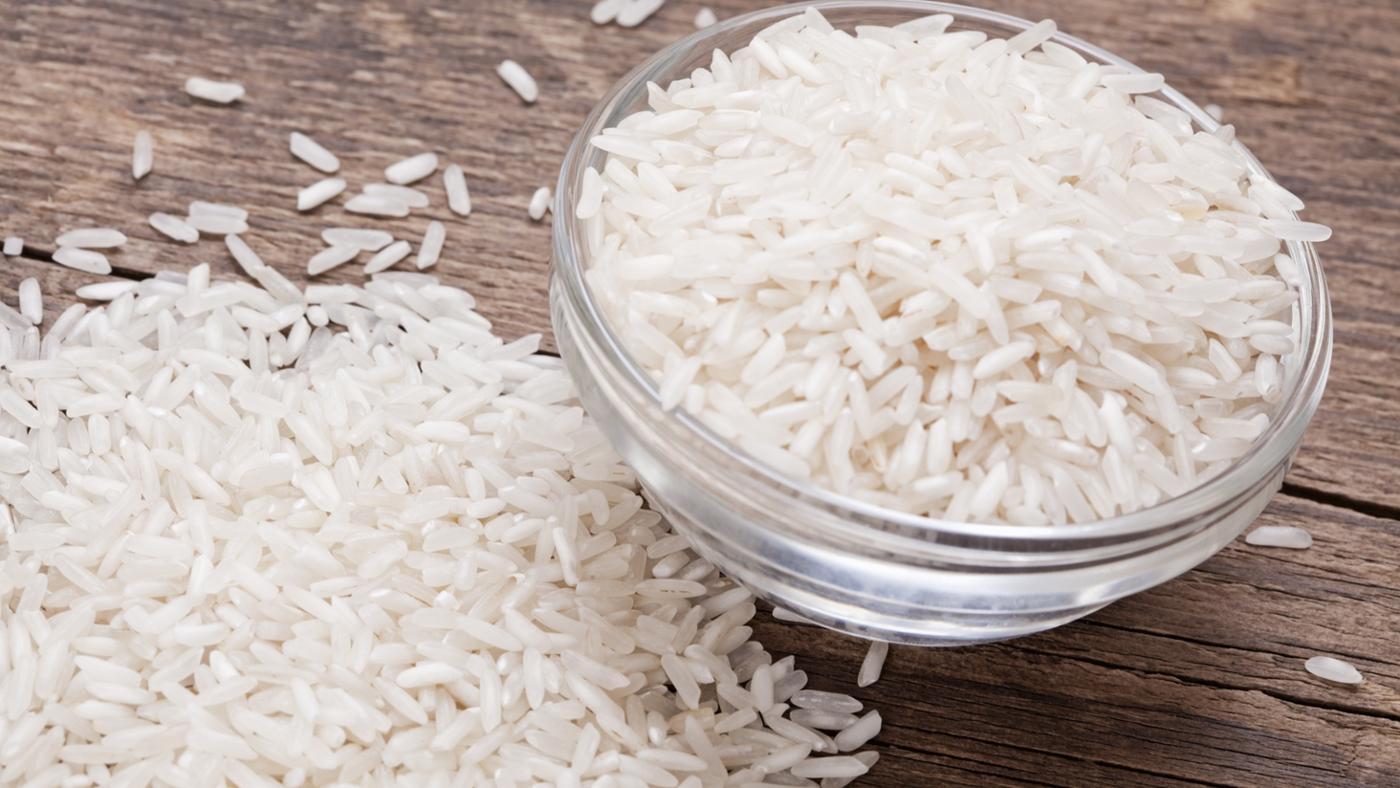
Now that your paper sphere is dry and hard, pierce it with a sharp pencil or cut out a small. Try to remove the balloon ends from the inside. Then, with a funnel, pour rice or dry goods into the paper sphere. Now put a wooden stick or an un-sharpened pencil in the hole and secure it to the balloon with the painters tape or all-purpose masking tape. The stick will serve as a handle so make sure it is securely attached.
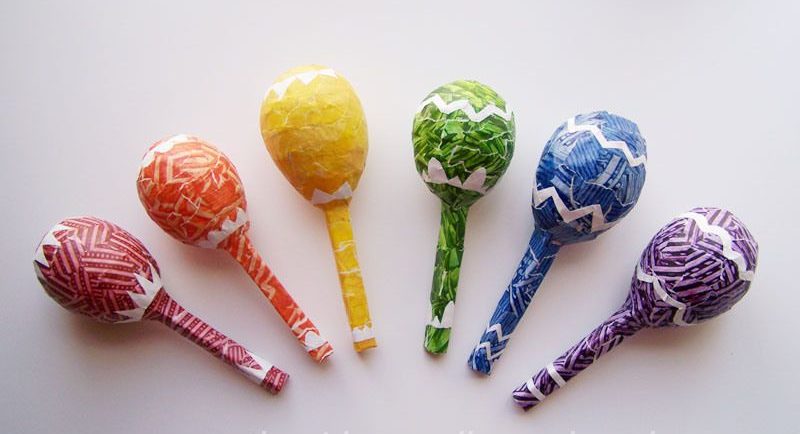
Here we go!! Be original and paint your maracas with paint. Cover the entire maracas, including masking tape and the handle! You can then choose to decorate it with glitter or other DIY materials that you have at home. Be creative!
We invite you to document today’s activity in your journal. For example, draw the whole family with their hands in the gooey mixture or simply write how the activity went.
If your child is documenting alone, you are invited to ask him or her questions to feed and improve the journal entry. Here are some questions you can ask:

Did you know…
Furthermore, you can create all kinds of elaborate instruments made from recycled materials and which are usually found at home.
To view nice examples of homemade instruments click here.
If you are super motivated and have a lot of time, why not try building a percussion wall? Here are a few examples.
Activity by M. Coco
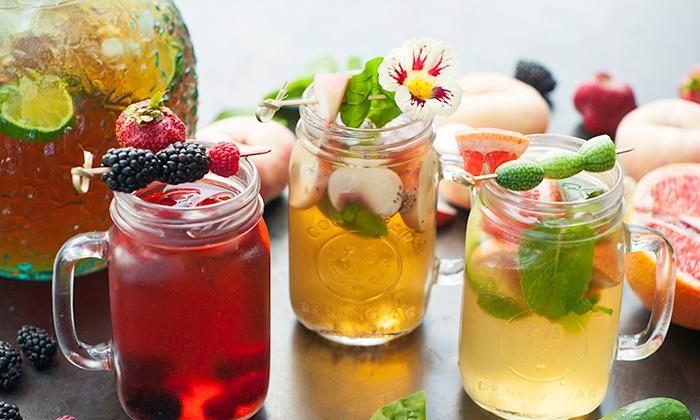
Warm weather is here, and we can feel the urge to go outside growing! We’ve pulled out our shorts and the butterflies are out. To celebrate this sweet season, let’s make iced herbal teas t...
View Blog Post
The Slague’s 2022-2023 season comes to an end. We’ve had such a wonderful time with you, that we wanted to take the time to look back on this incredible season in photos! ...
View Blog Post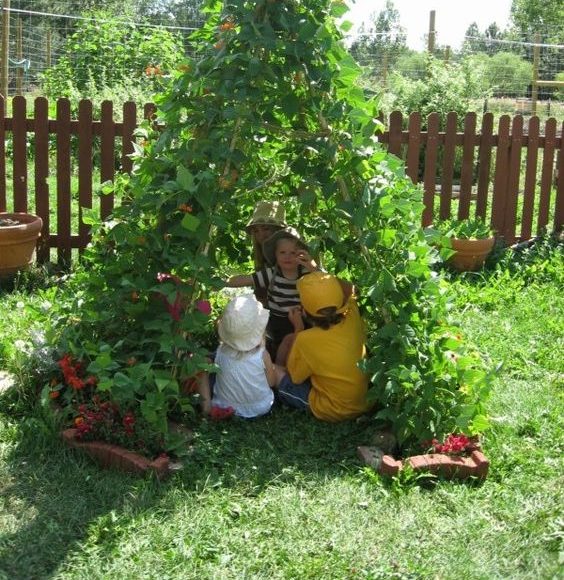
Are you looking for a DIY project that is easy to do with your children, that you can put together in your garden and that requires a minimum of equipment? If so, we have an idea for you! You don̵...
View Blog Post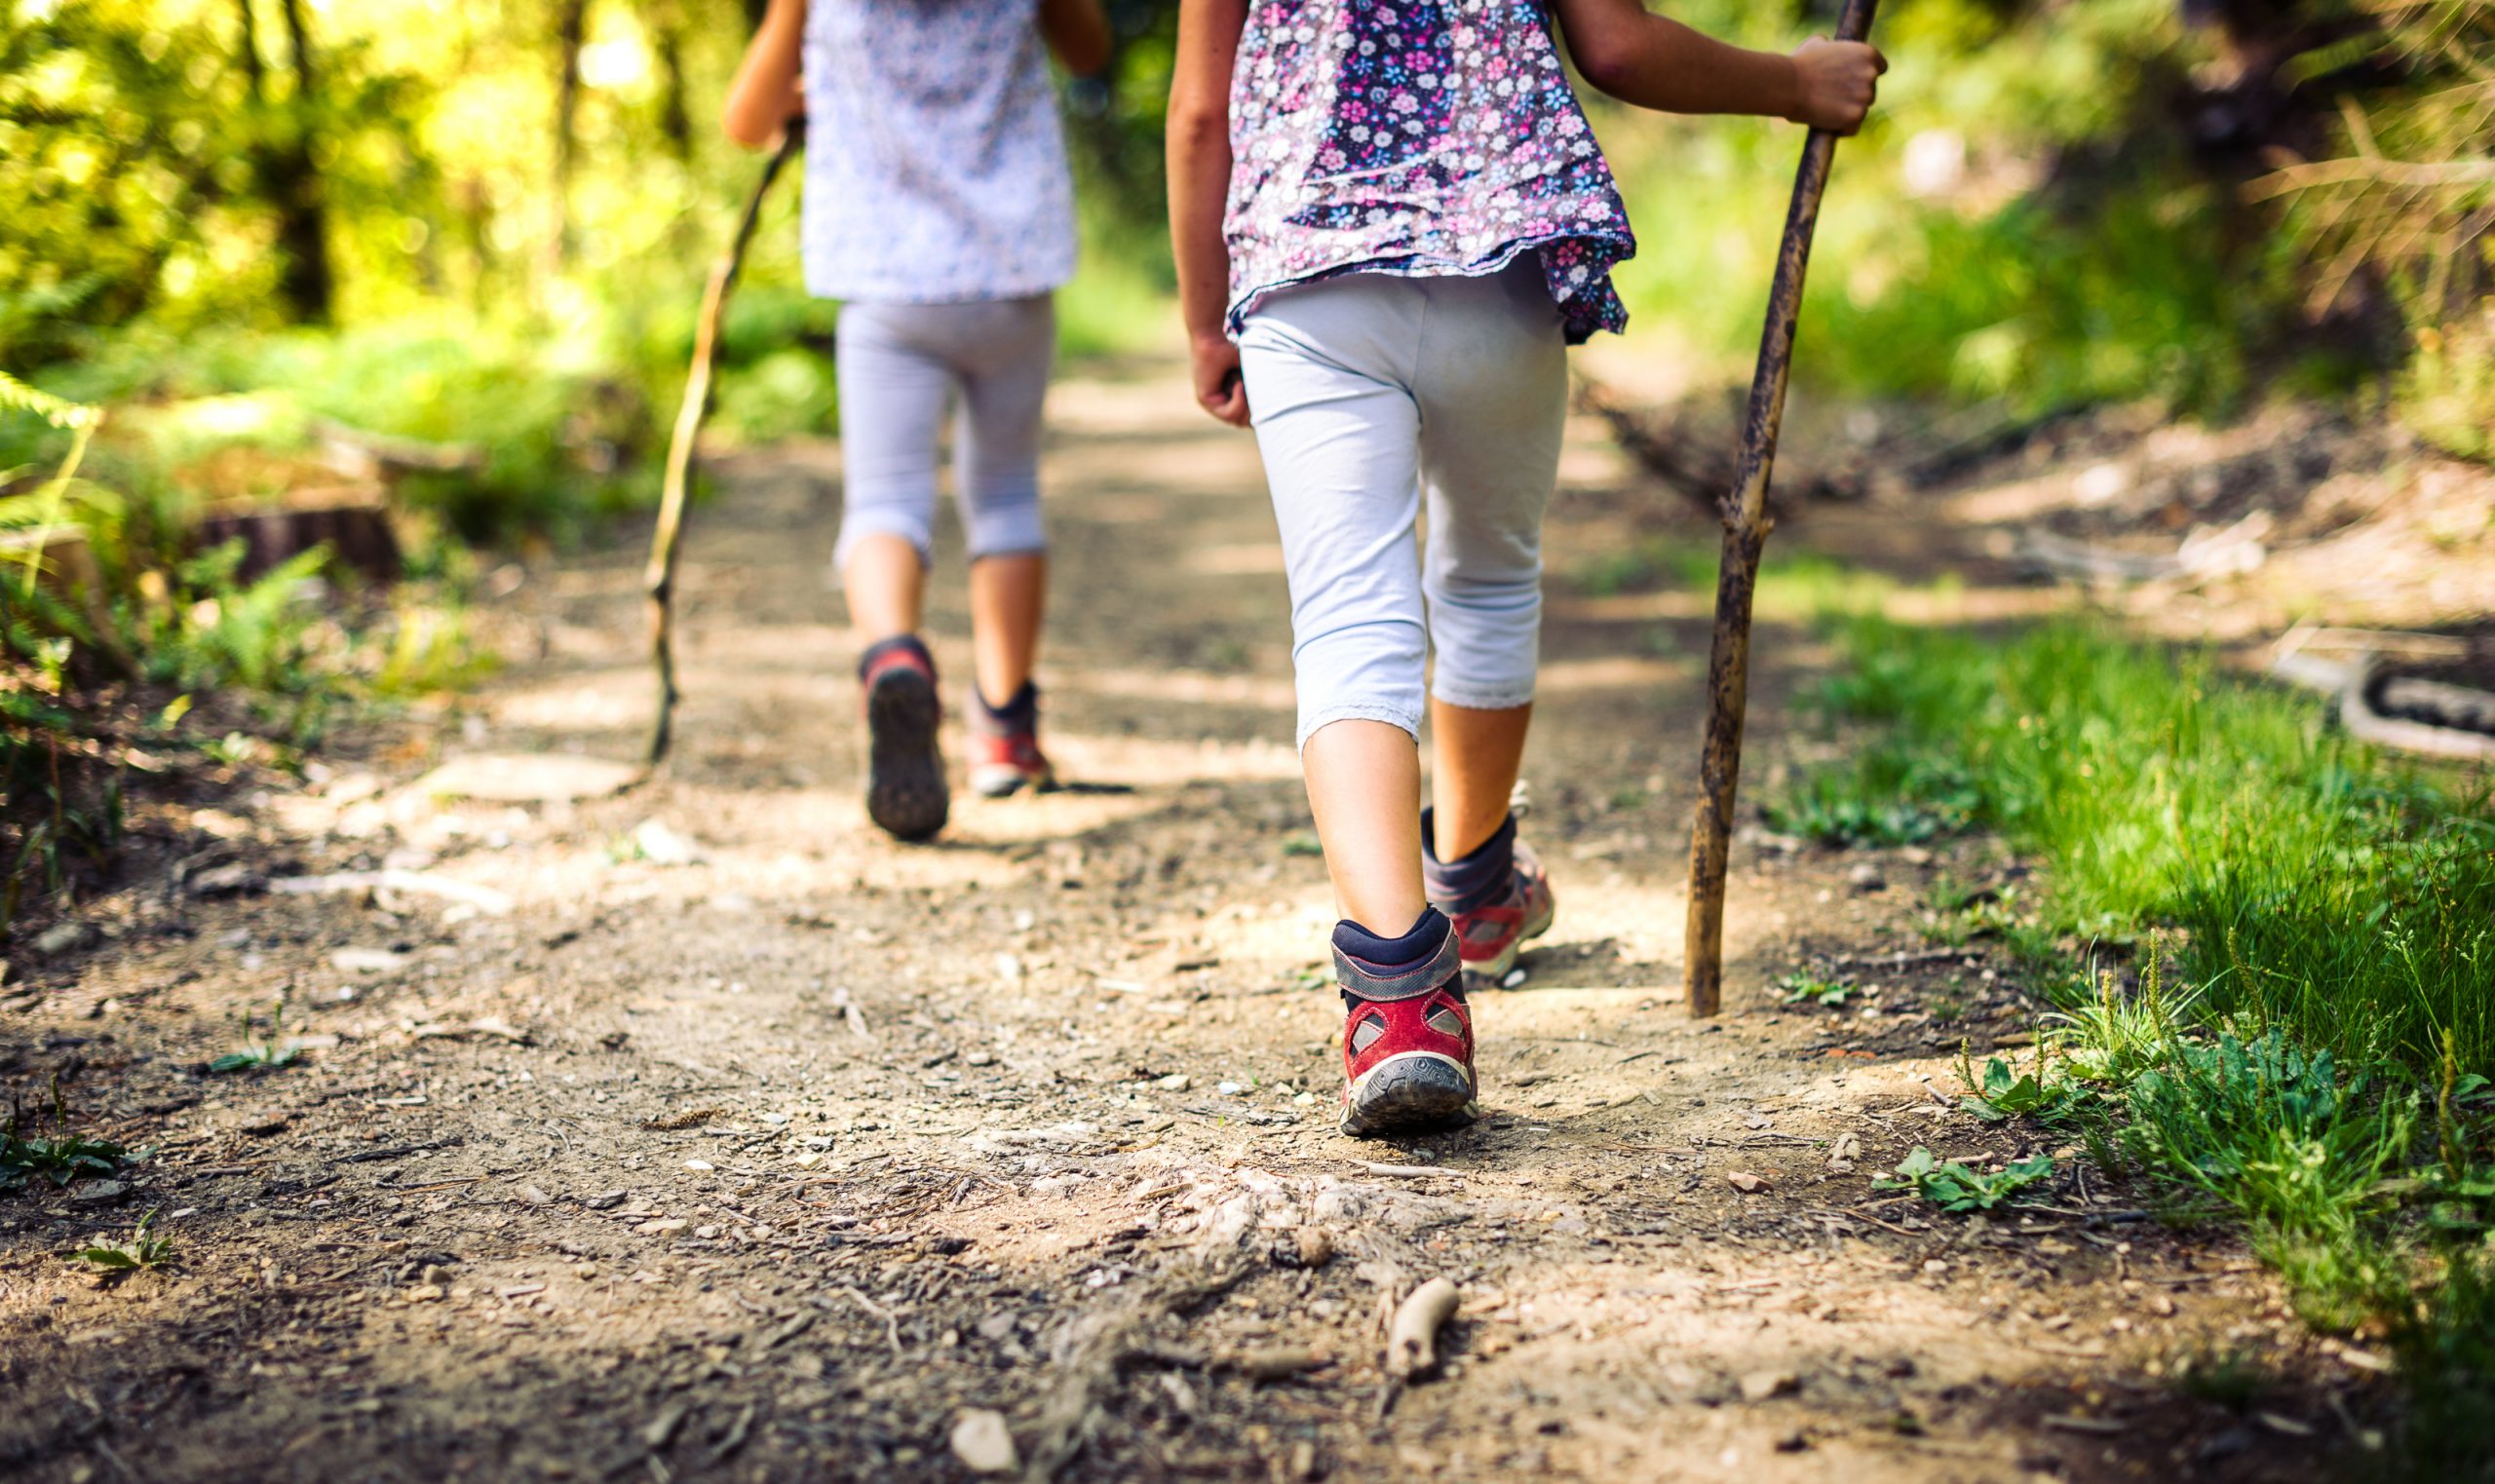
The sun is getting brighter every day and the songbirds are out! What says spring like a treasure hunt outdoors. This simple game is an excellent means of expanding our vocabulary and learning new...
View Blog Post
Here are the events touched: ...
View Blog Post